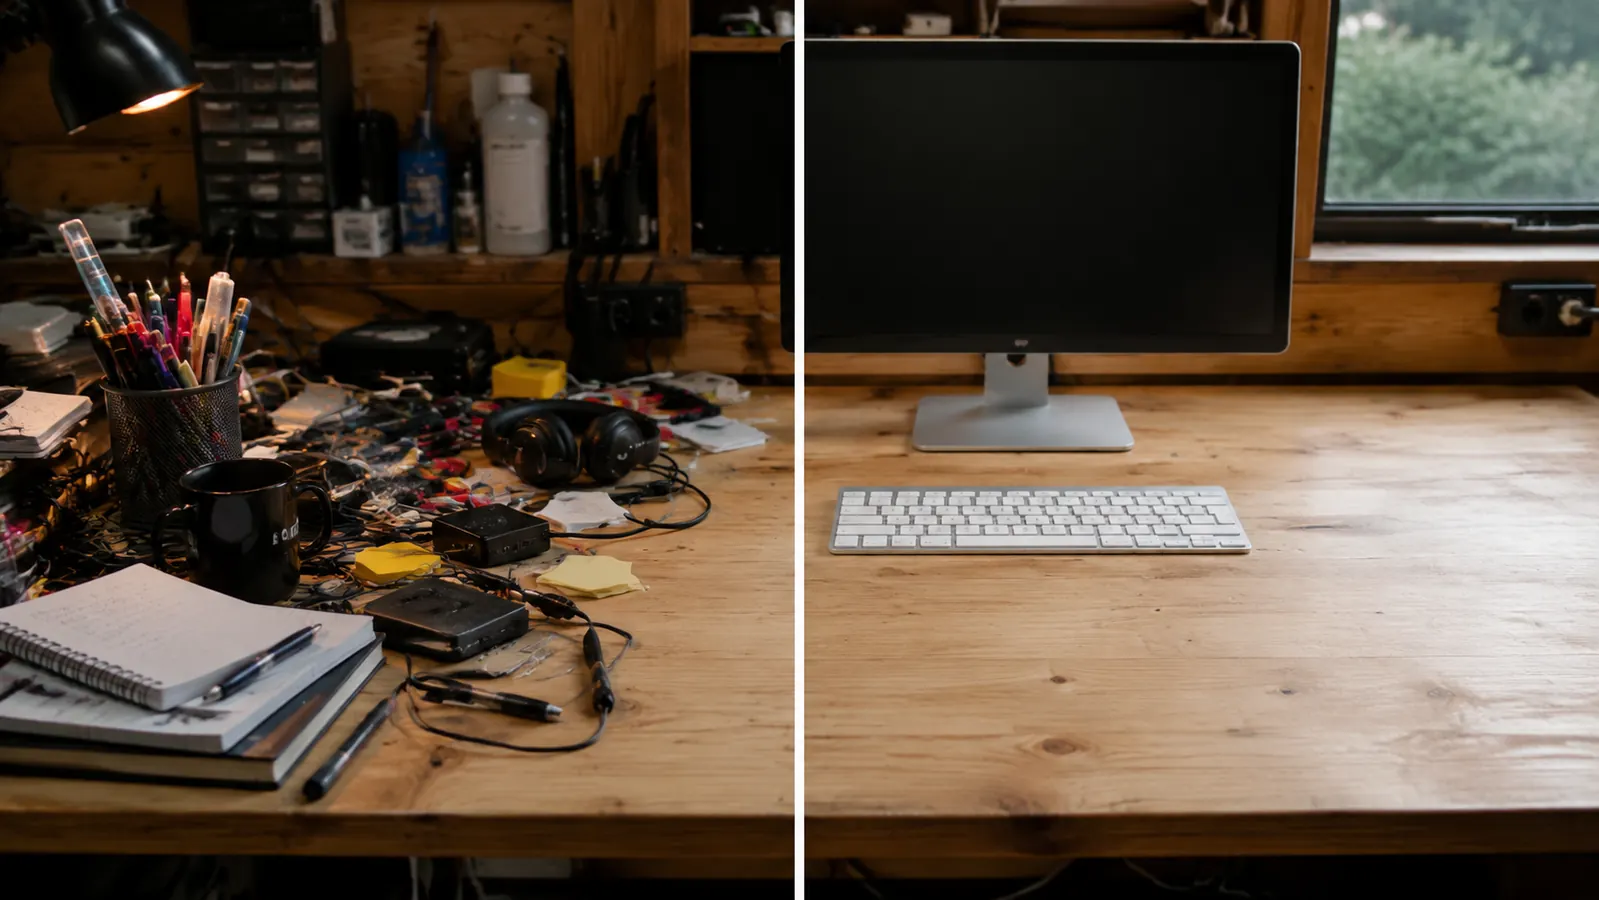
My desk used to look like a junk drawer had exploded across the top of it. Pens rolling toward the edge, a tangle of charging cables, sticky notes stuck to the monitor bezel, an earbud case buried somewhere under a stack of invoices. I run an electrical side business out of my garage office, and half my day is spent on the phone or on a video call, so a clean desk isn't a vanity thing for me. It's the difference between finding a pen in two seconds or fumbling around on camera while a client watches.
The fix that actually worked wasn't a bigger desk or another organizer tray sitting on top of the clutter problem. It was getting stuff off the desktop entirely and into a slide-out drawer mounted underneath it. I used the YOOUSOO under desk drawer, a two-pack self-adhesive slide-out organizer, and it took less than twenty minutes to change how my whole workspace felt. Here's the exact process, step by step, including the parts nobody mentions until you've already made the mistake.
Stop losing pens and cables to desk clutter
The YOOUSOO under desk drawer mounts in minutes with no drilling and gives you a hidden spot for the small stuff that keeps piling up on top.
Amazon Check Today's Price on Amazon →Step 1: Clear the desktop and sort what's actually on it
Before you mount anything, dump everything off your desk onto the floor or a folding table nearby. I know that sounds backwards when the goal is less clutter, but you can't organize a pile you can't see. I found three dead pens, a USB cable that didn't match any device I own, and a coupon from 2024 mixed in with things I actually use daily.
Sort into three piles: things you touch every day (pens, a notepad, earbuds, a phone charger), things you touch weekly (extra cables, a stapler, sticky notes), and things that don't belong on a desk at all. That third pile goes in a drawer somewhere else in the house or straight in the trash. The under desk drawer isn't big, so you're not trying to fit everything back, just the daily and weekly stuff.
This step took me about ten minutes and it's the one people skip because they want to jump straight to mounting the drawer. Skip the sort and you'll just transfer clutter from the desktop to the drawer, and you're back where you started in a month. I also found it useful to photograph the messy desk first. Sounds silly, but having a before picture on my phone kept me honest later when I was tempted to let random junk creep back onto the desktop.
One thing I'd add for anyone doing this with a partner or a kid who shares the desk: do this sort together if you can, or at least agree ahead of time on what counts as clutter. I made the call solo the first time and my wife wanted her charger back on top of the desk within a week. Getting buy-in up front saves you from refighting the same battle.
Step 2: Pick the mounting spot and test the clearance
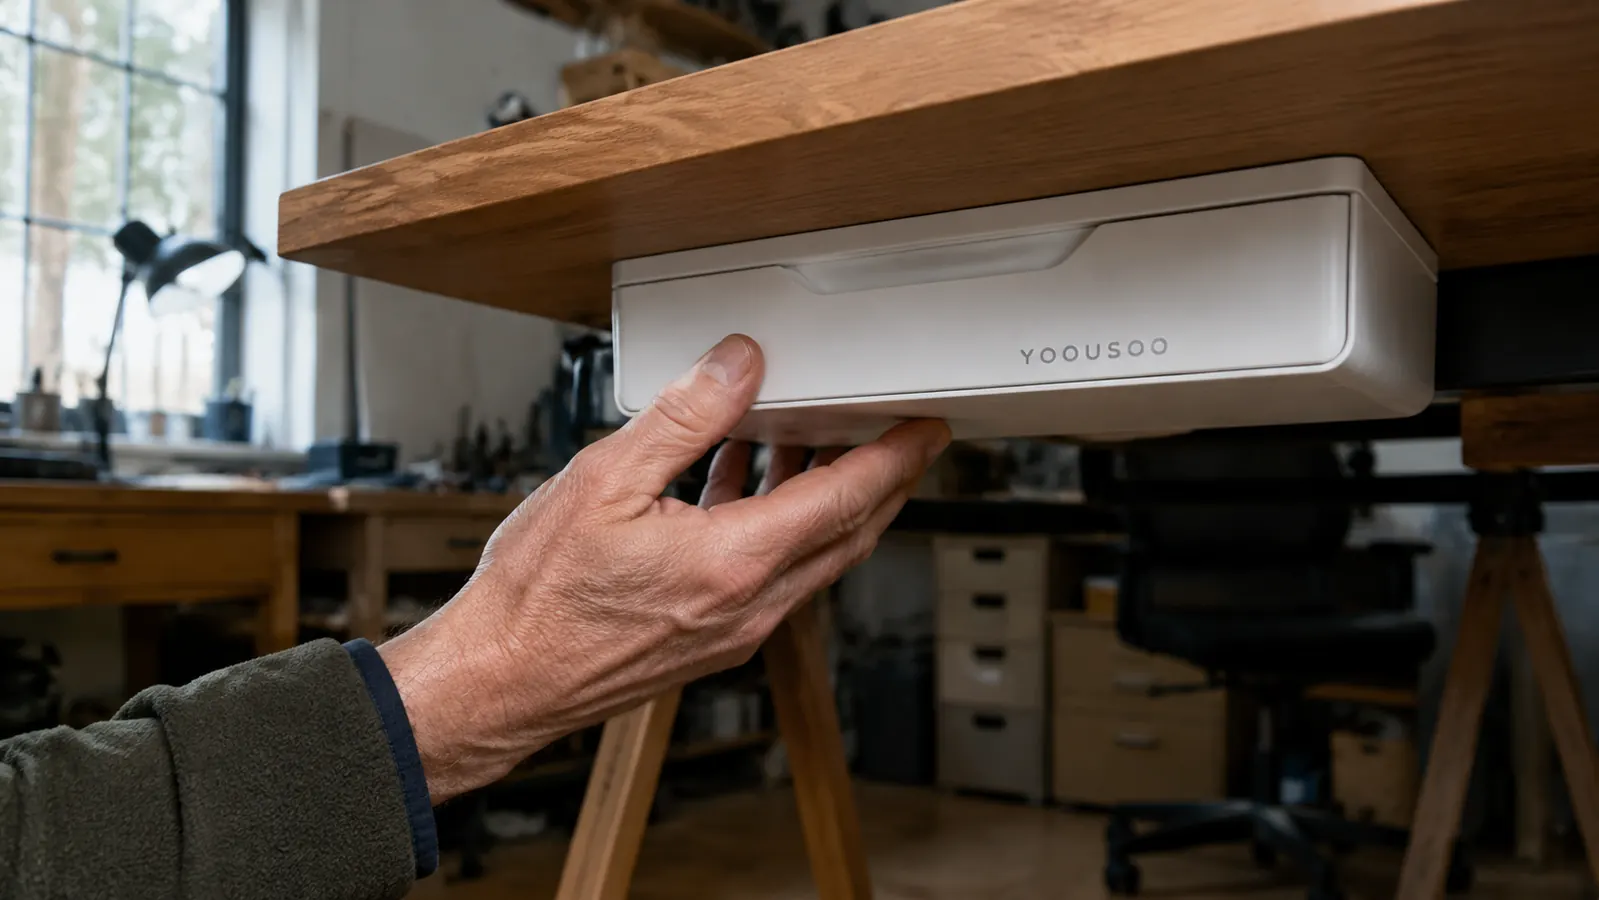
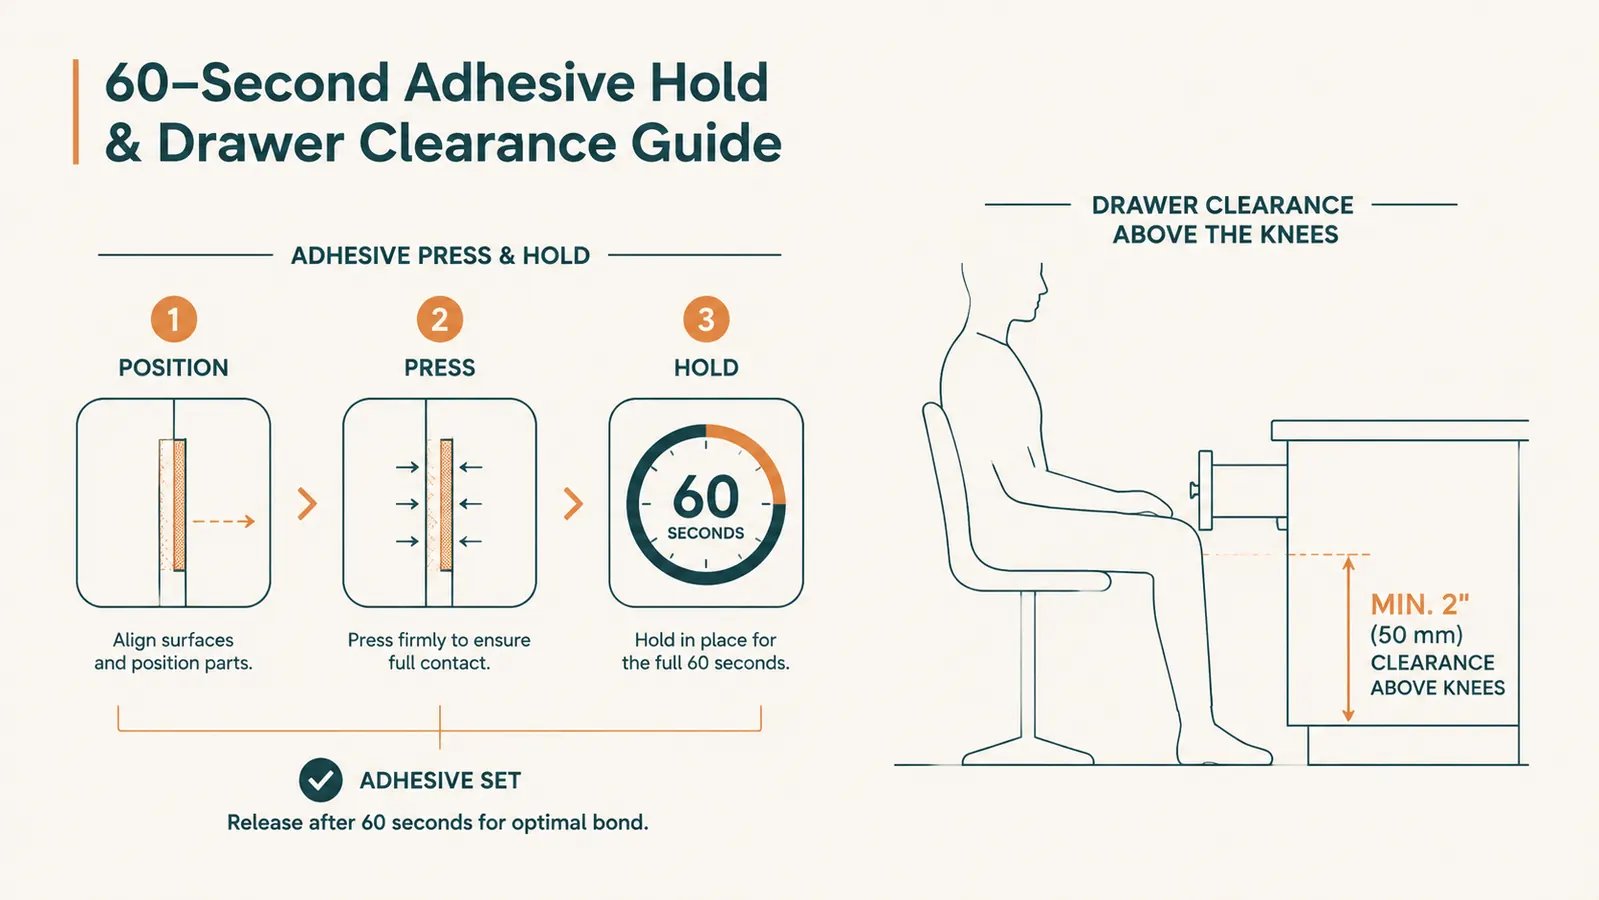
Sit at your desk normally and reach forward with both hands like you're typing. The under desk drawer needs to sit above your knees but low enough that you don't have to duck under the desktop to reach it. On my desk that ended up being about four inches back from the front edge, centered under where my keyboard sits, since that's the zone I reach into most during the day.
Check for obstructions before you commit. My desk has a center support beam and a power strip mounted with velcro on one side, so I had to shift the drawer left of center to avoid both. Slide a piece of cardboard cut to the drawer's dimensions (roughly 9.4 by 4.7 inches for the YOOUSOO) into a few candidate spots and open and close an imaginary drawer with your hand to make sure your knees or chair arms don't clip it.
If you share the desk or move often between a laptop stand and a full setup, mount the drawer slightly off to your dominant hand's side rather than dead center. I'm right-handed, so mine sits just right of center, and I never have to think about which direction to reach.
Also think about how your chair rolls in and out through the day. If you scoot back frequently to grab a tool or stand up for a call, a drawer mounted too far forward will bump your knees every single time. I learned this the hard way on my first placement attempt and had to peel the drawer off and start over, which is a pain once the adhesive has already set, so get this part right before you commit to Step 4.
One more thing worth checking: cable routing near your chosen spot. If a power strip or dock cable runs across the underside of your desk right where you want to mount, either reroute it with a clip first or shift your placement a couple of inches. I had to move a surge protector cord out of the way before final mounting, and doing that after the adhesive is set means peeling everything back off, which risks weakening the bond on the second attempt.
Step 3: Clean the surface and prep the adhesive
The self-adhesive backing on this style of drawer is only as good as the surface prep. I wiped the underside of my desk with isopropyl alcohol on a rag and let it air dry for a full two minutes. Any dust, wax finish residue, or grease from handling the desk will weaken the bond, and this is the number one reason these things fall down within a week for people who skip it.
If your desk has a textured, oiled, or unfinished wood underside, be honest with yourself about whether adhesive is going to hold at all. Mine is a laminate-topped workbench desk with a smooth painted underside, and it held fine. A raw, rough-cut wood underside is a different story, and I'd add a couple of small screws through the mounting holes if your drawer has them, just for insurance.
Check the temperature of your workspace too. Adhesive backing cures slower in a cold garage office than in a heated room, and I run my garage setup at a cooler temp in the mornings before the space warms up. If your office runs cold, give the surface an extra few minutes to fully dry after wiping it down, and consider mounting in the afternoon once the room has warmed a bit.
It also helps to do a dry run before you commit. Hold the drawer up in place, unpeeled, for a minute or two and picture yourself reaching for it while typing. This costs you nothing and it caught an issue for me the first time, where the drawer's front lip would have collided with a lower desk drawer I'd forgotten was already installed on that side.
Step 4: Mount the drawer and hold pressure
Peel the backing and press the drawer housing flat against the cleaned surface. Then hold firm pressure, using your full body weight if you can brace against it, for a solid sixty seconds. I set a timer on my phone instead of guessing, because thirty seconds feels like sixty when your arm is getting tired holding it overhead.
After the initial press, leave it alone for at least an hour before you put anything in it, and ideally overnight before you load it up with heavier items. I made the mistake of tossing a stapler and a small tape dispenser in mine within ten minutes of mounting, and it sagged slightly before I caught it and gave the adhesive proper time to cure.
If you're mounting the second drawer from the two-pack somewhere else, like under a side table or a printer stand, repeat the exact same prep steps rather than rushing it because you already know the process. I got lazy on my second unit, skipped the alcohol wipe, and it came loose within a month. Redid it properly the second time and it's been solid for six months since.
Worth noting on hardware in general: the mounting screws that come in the box are there as a backup, not a requirement, and most people never touch them if the adhesive prep was done right. But if you're mounting on a desk that sees rough daily use, like mine does with tools and equipment nearby, spending the extra two minutes to add the screws through the pre-drilled holes gives real peace of mind. It's the difference between trusting the drawer and just hoping it holds.
Step 5: Load it with a system, not just stuff
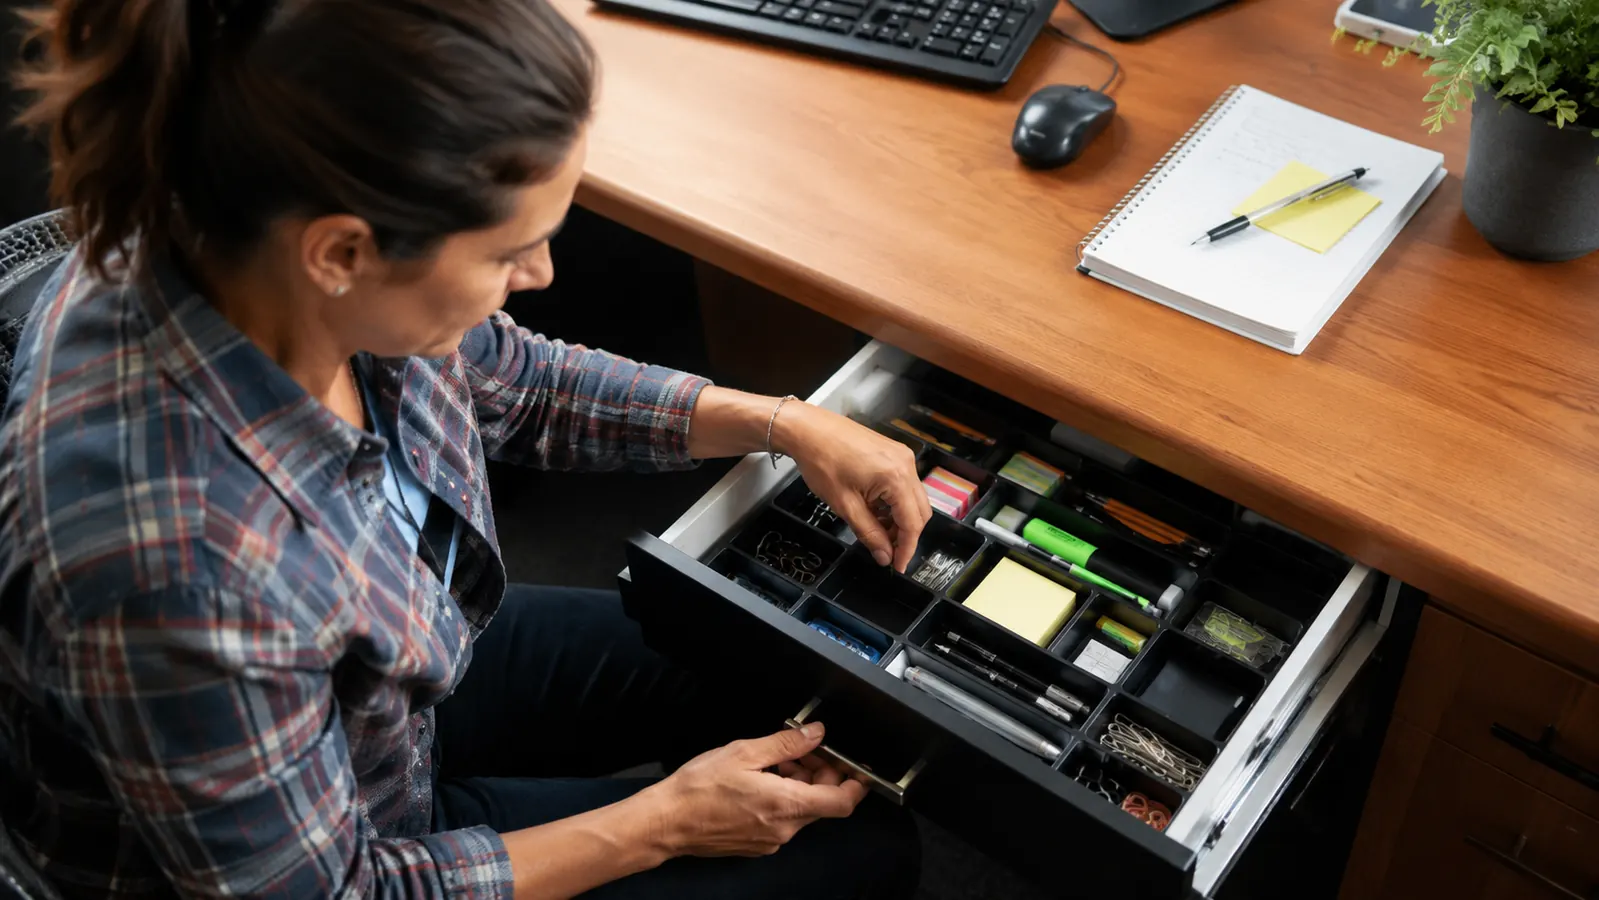
This is where most people undo all the work from Step 1. Don't just shovel the daily-use pile back into the drawer randomly. I split mine into a front section for pens, a small notepad, and a phone stand tab, and a back section for earbuds, a spare charging cable coiled with a velcro tie, and a handful of paper clips in a tiny dish that fits the drawer depth.
Keep anything heavier than a stapler out of it. The listed capacity is modest, and while it held my everyday items fine for six months, I wouldn't push it with a laptop charger brick or a stack of notebooks. Light, flat, frequently-used items are what this drawer is built for, not deep storage.
Once it's loaded, do a one-week check. After the first week I noticed I kept reaching for a small ruler that wasn't in the drawer, so I moved it in from the tool box and moved a rarely-used adapter back out to a bin on a shelf. Give yourself permission to adjust the loadout once you see your actual daily habits play out, rather than assuming you got it perfect on day one.
What Else Helps
The under desk drawer solves the small-item clutter problem, but it won't fix cable spaghetti behind your monitor or a stack of paperwork you haven't dealt with. Pair it with a basic cable sleeve or clips along the back edge of the desk, and set a standing weekly habit of clearing loose papers into a single inbox tray instead of letting them spread across the desktop. The drawer keeps daily-use items contained, but clutter has a way of creeping back in from every other direction if you don't have a home for the rest of it too.
I'd also suggest doing a monthly five-minute reset. Slide the drawer open, dump it out, wipe it down, and only put back what you've actually used in the last month. It takes almost no time and it's the difference between a drawer that stays useful and one that slowly turns into the same junk pile the desktop used to be.
The drawer didn't just clear my desk. It gave every small item a specific home, and that's the part that actually stuck.
A clear desk starts with one twenty minute fix
If your desktop looks like mine did six months ago, the YOOUSOO under desk drawer is a cheap, fast way to get the small stuff out of sight and off your workspace for good.
Amazon Check Today's Price on Amazon →